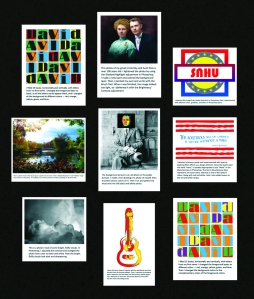
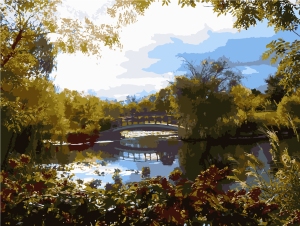
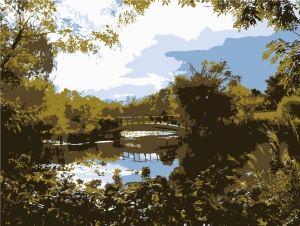
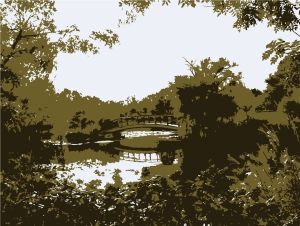
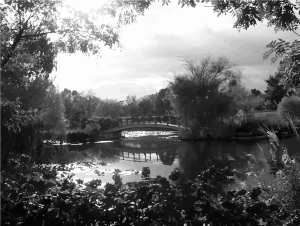
In this exercise, we were to print a collection of our work, arrange it on a neutral background, photograph it, then edit, crop, and color correct it in Photoshop. I used masking tape on the backs of the photos to tape them to a large corkboard, but after I photographed it, I didn’t like the way the corkboard looked (it didn’t appear “neutral” enough), so I used Photoshop to darken the cork to black. Now it’s neutral.
Exporting Illustrator Files to Photoshop
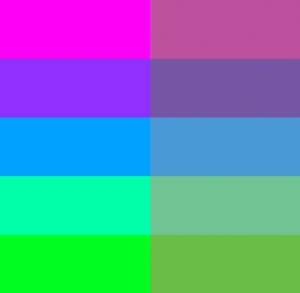
Color Shifts: RGB to CMYK
Image Trace in Adobe Illustrator
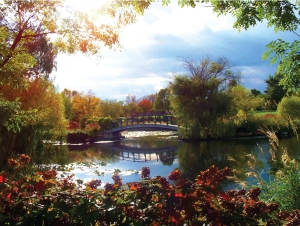
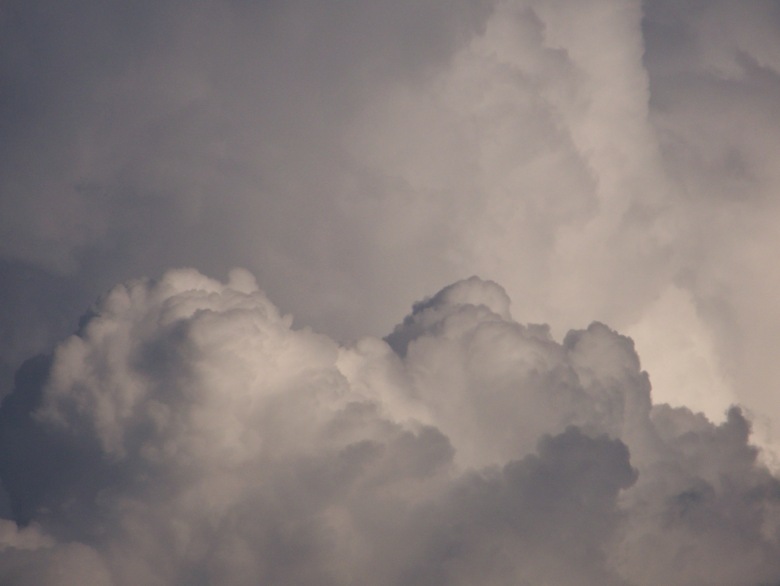
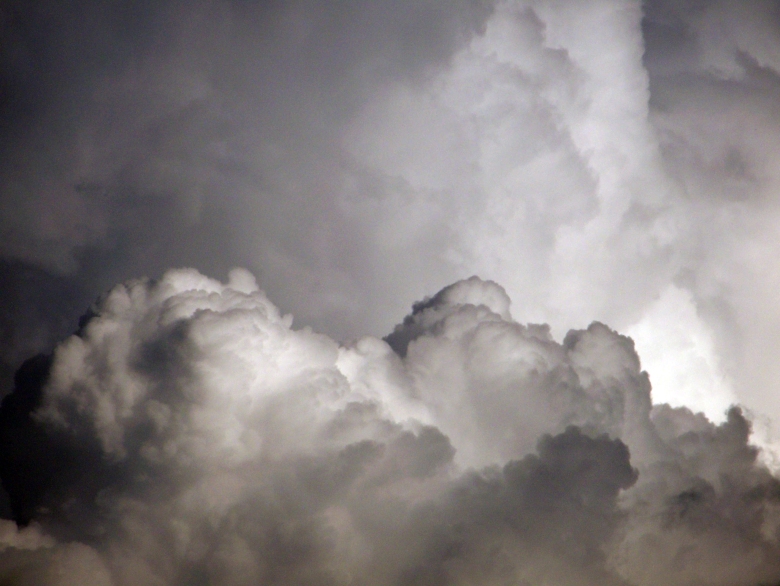
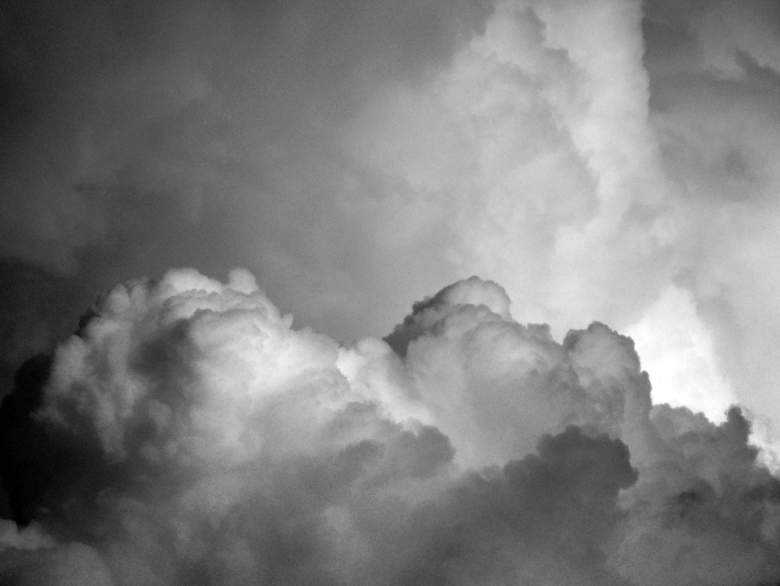
This is a photo I took a few years ago at a park near my home:
Here is Illustrator’s “High Fidelity” Image Trace version of the photo:
Here is Illustrator’s “Low Fidelity” Image Trace version of the photo. It resembles one of those paint-by-numbers paintings we all did as kids:
Here is Illustrator’s “16 Colors” Image Trace version of the photo:
Here is Illustrator’s “6 Colors” Image Trace version of the photo:
Here is Illustrator’s “3 Colors” Image Trace version of the photo:
Here is Illustrator’s “Shades of Gray” Image Trace version of the photo:
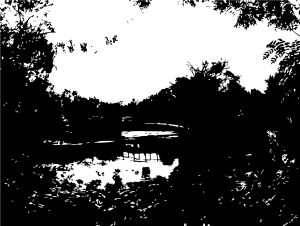
Here is Illustrator’s “Black and White Logo” Image Trace version of the photo (not very good):
25 Boxes
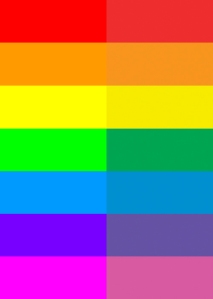
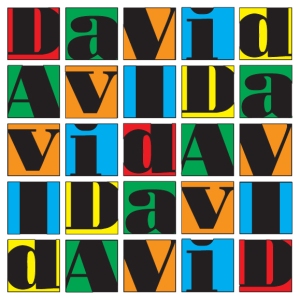
My first name “David” has five letters and begins and ends with the letter “D,” so I decided to fill my 25 boxes, horizontally and vertically, with letters from my first name. I used a font named Bodoni Black Squares. In the first image, I changed the foreground layer to black so all the letters would appear black, and I changed all the background to different colors — red, orange, yellow, green, and blue.
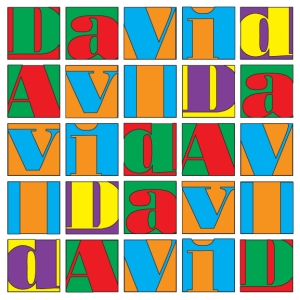
In the second image, I changed the color of letters, using the complementary colors of their backgrounds.
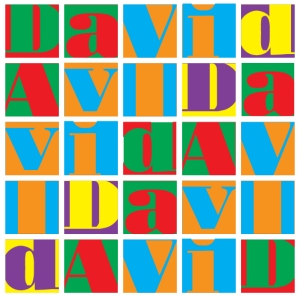
As suggested, here’s a new version without the black outlines:
Experiments With Basic Illustrator Tools
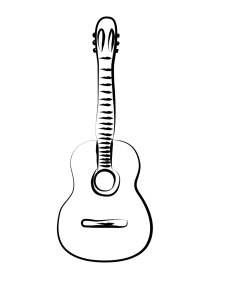
To start, I drew the basic shape of a guitar with the paintbrush tool and one of the brushes from the brushes palette (though I can’t remember which brush).
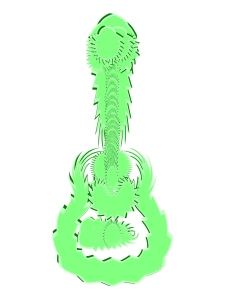
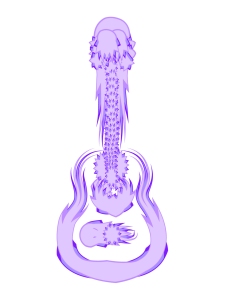
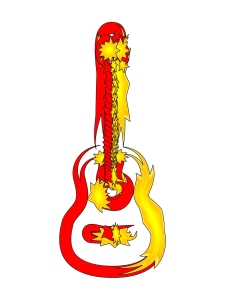
Then, I selected the drawing with a selection tool and went into the brushes palette again, this time clicking all the various choices. These from the “Decorative Banners and Seals” were the most interesting results.
Starburst 2:
Starburst 3:
Starburst 6:
GIF Animation Accessing Layers
I created this simple GIF animation of my cat by using layers in Photoshop. I’ve made a few GIF animations before by using a GIF-making program, but this is the first time I’ve made a GIF in Photoshop with layers. To be honest, it’s much easier making GIFs with the GIF-making program, so I probably will never make another GIF in Photoshop.
Working With Type
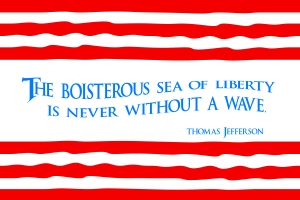
In this exercise, I selected a famous quote and experimented with type by applying filter effects as a design element. Since the quote used the word “wave,” it seemed appropriate to use “Wave” in the Warp Text box in Photoshop. The text is blue because blue represents an ocean wave, and blue is one of the nation’s colors, along with red and white.
Colorizing a Photo With Photoshop
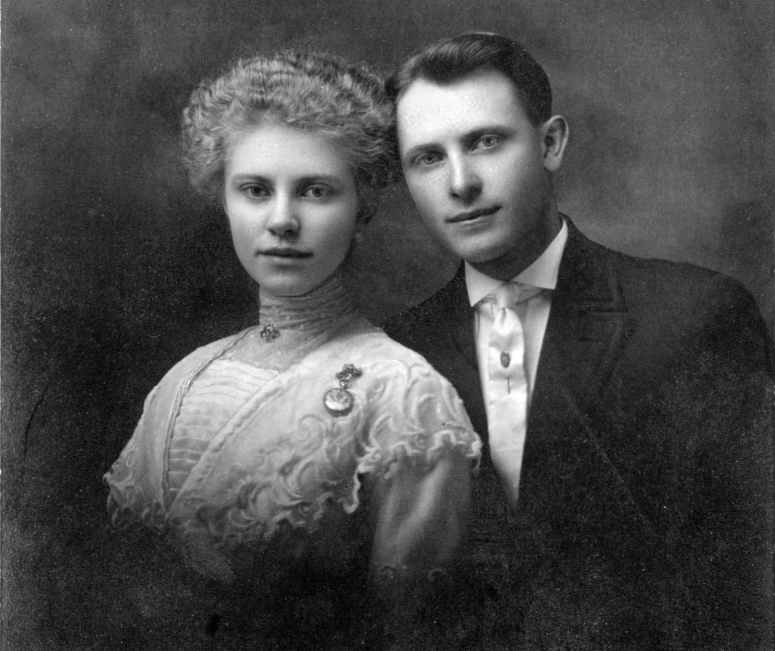
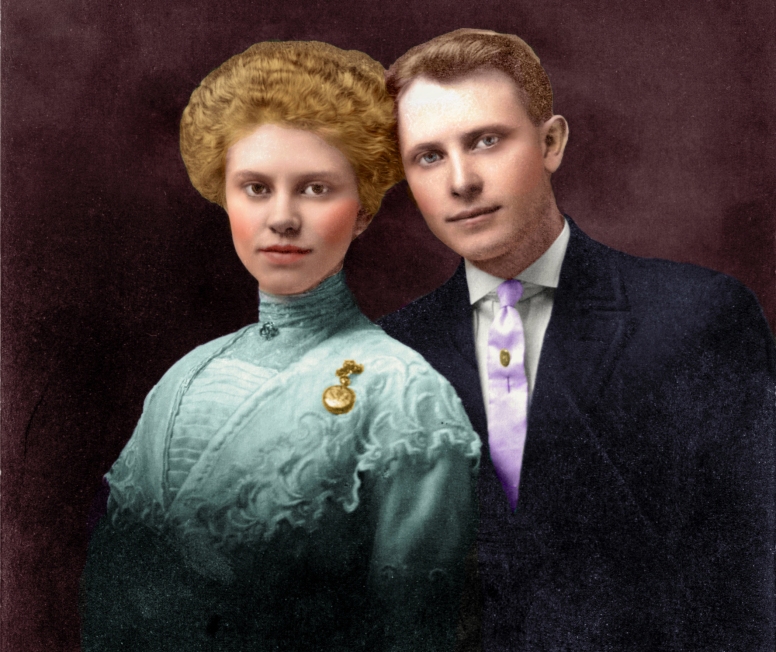
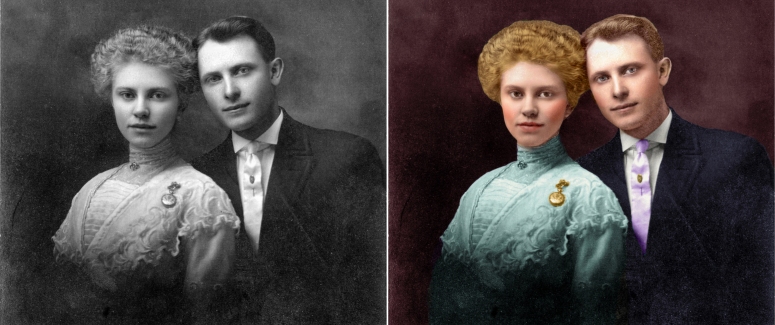
This photo of my great Uncle Roy and Aunt Elsie is over 100 years old.
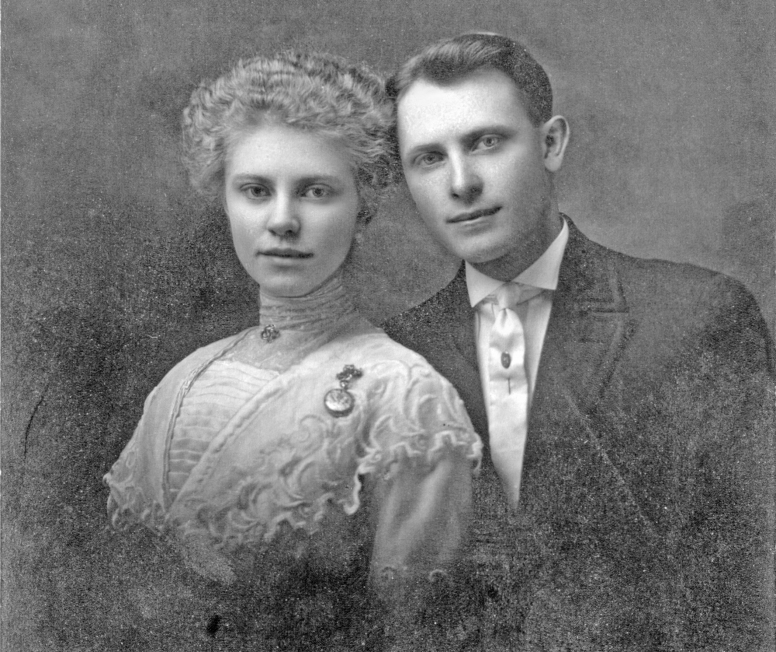
The picture is pretty dark, and I knew that adding color would make it even darker, so I lightened the photo by using the Shadow/Highlight adjustment.
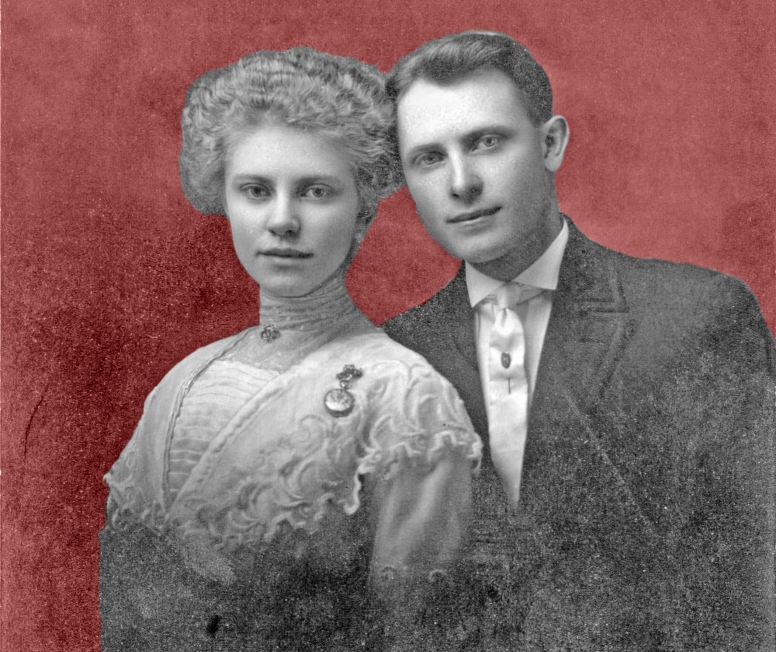
Then, I used the Magnetic Lasso Tool (and the regular Lasso Tool for touch-ups) to select and separate my aunt and uncle from the background. I made a new layer and colored the background layer.
Then, I painted my aunt and uncle with the Brush Tool. When I was finished, the image looked too light, so I darkened it a bit with the Brightness/Contrast adjustment. Here is the completed colorized image.
For comparison:
